WebCreator 8 - Getting started
After a brief presentation of the components of the interface, we will show you how to use WebCreator by quickly customizing a template. We will continue by presenting the key elements used in developing pages with WebCreator.
Workspace
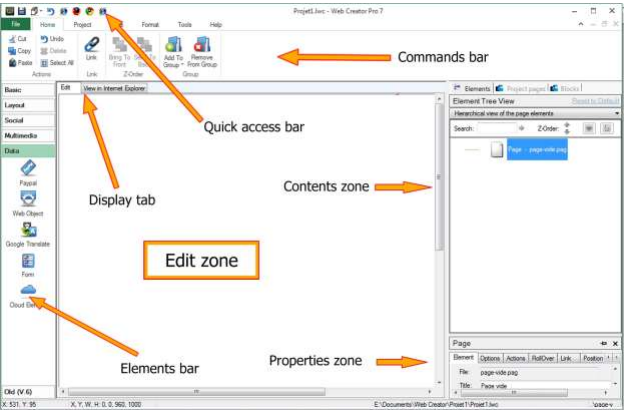
Customize a template
The basics of page editing in WebCreator will be covered first, starting with various essential operations and explanations of the underlying concepts.
For this, we use the sample model below. This is the one that opens first when using templatecreator.lmsoft.com or New Project from the software.
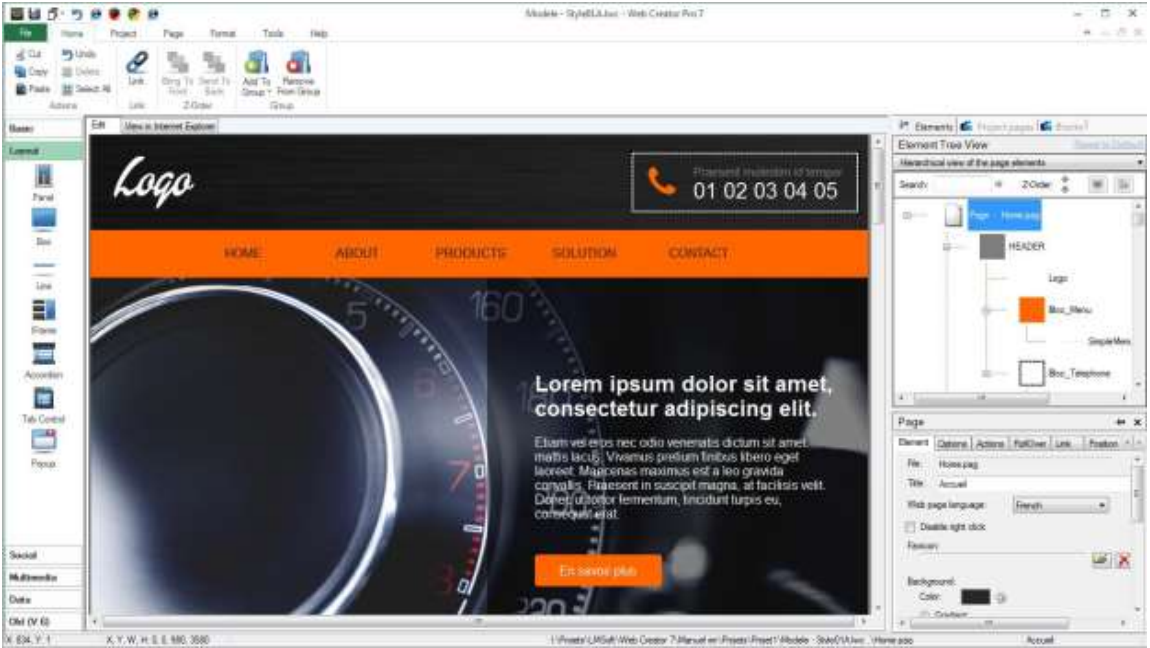
You will find all previously designated components and notice that the content area displays a tree view where the first element, Page, is selected by default . We will return to it later.
Modify a text
In the edit box , click the text Lorem ipsum... surrounded by a white selection frame with 8 handles.
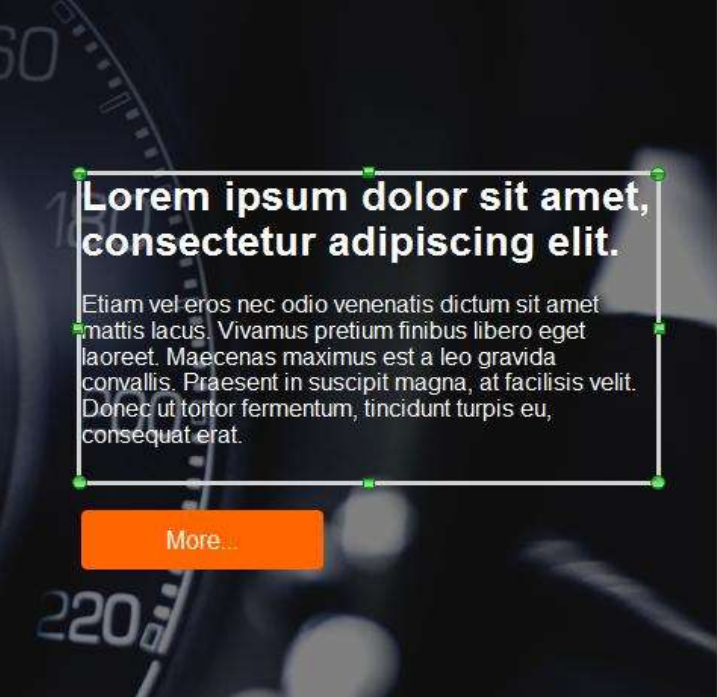
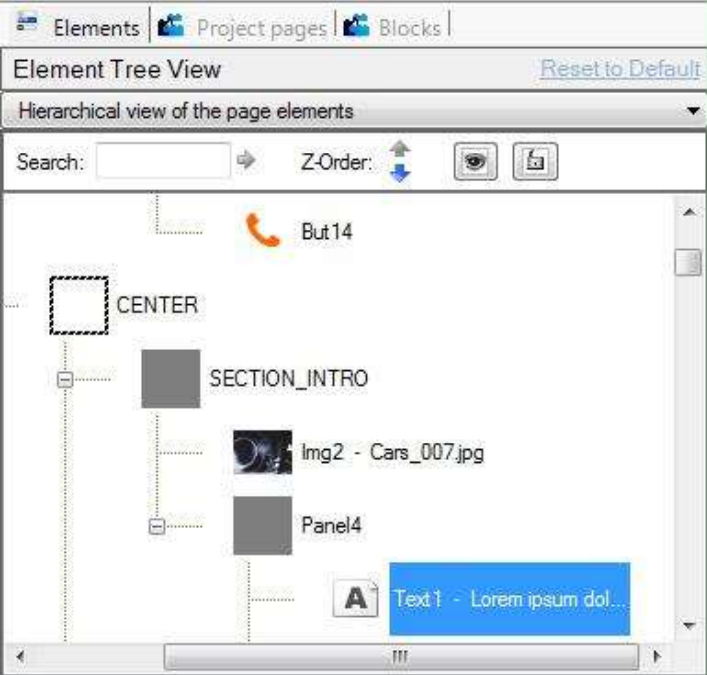
You can notice in the content area on the right side that the line Text1 - Lorem ipsum dol... is now highlighted.
If you click again in the text, an insertion cursor appears at the spot where you clicked. You can then enter the text, select, erase and perform all the usual tasks of text editing with the help of the tools in the Home menu.
With the mouse, you can move and resize elements with the frame that surrounds them, as with any graphics software. When you place the mouse cursor on the frame, it turns into a crosshair (moving) and on the green dots it turns into a double arrow (resizing) .
After some manipulation , you get a different appearance than in the beginning.

The positioning mode that you just experienced, in which you take an element and place it directly where you want, is called free positioning. Free positioning is without rules or constraints; it is natural and intuitive. As we work in a small area or a page containing few elements, it is a good method. We will see later what to do when the site is bigger.
Replace an image
Click on the left side where the speedometer appears: to the right of the interface, in the content area, the selected line is Img2 - Cars_007.jpg . You can also directly select the page’s elements in the content area.
Further down in the properties area, Element tab , you find the same name on the file line. The icons take you to your computer or to the included library to select images.
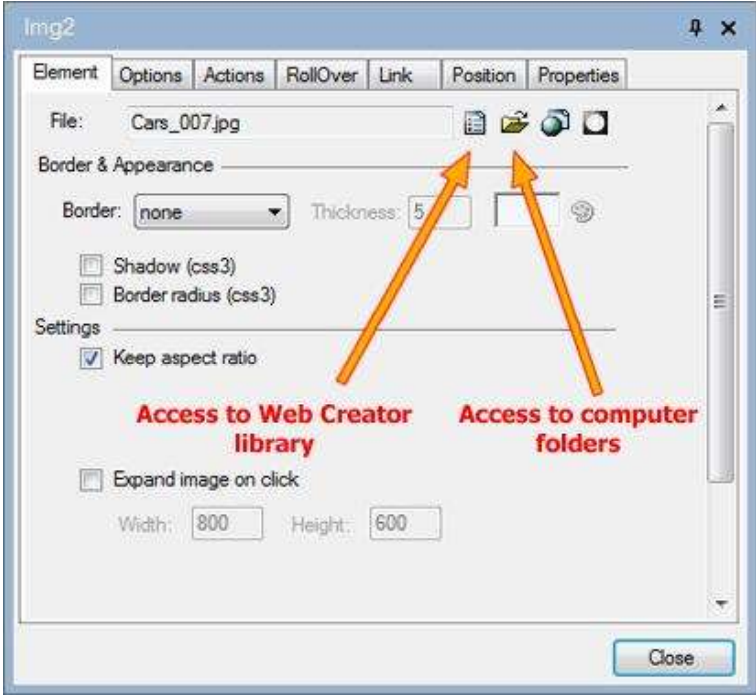
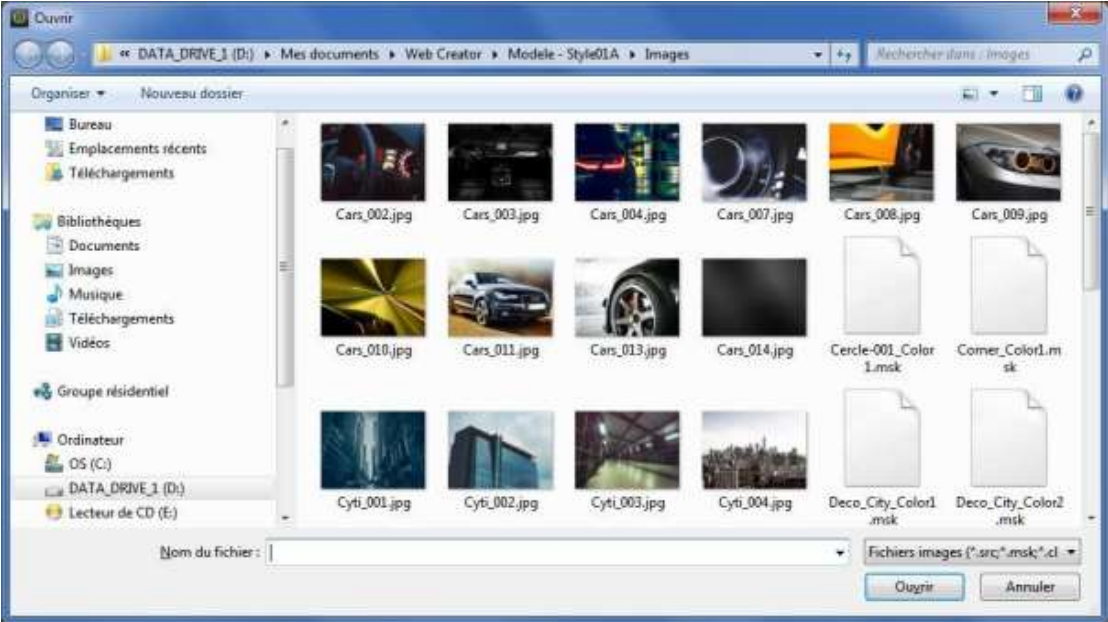
For our example , select the Cars_010.jpg image and click Open to load it.
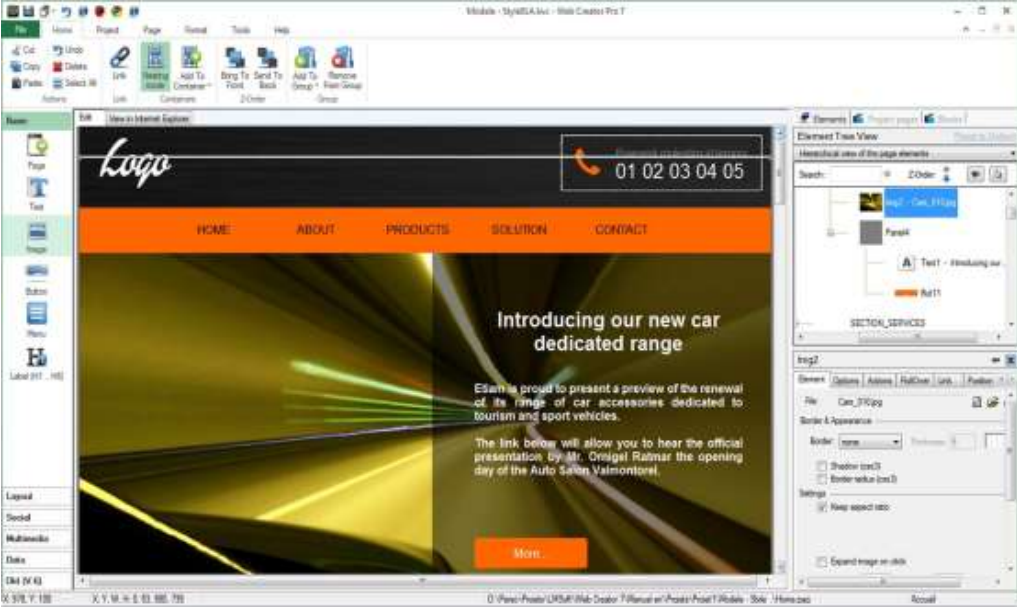
This first exercise has given you the opportunity to make contact with many aspects of WebCreator and essential handling of its interface and tools. With practice, you will learn to completely customize your pages.
You can preview your work with the Internet Explorer Visualization tab or with other browsers present on your machine, displayed in the Quick Access area.

Before continuing, we must tell you about the architecture of pages and certain key concepts, because it is required for working effectively with WebCreator 8.