WebCreator 8 - Adding a block to an existing section
Imagine that you want to add a new product or service in the News section. In technical terms, we will add a product block to the News section.
Create a new section
Let’s continue with the template V7 Style 1a. Select the News section. Verify in the treelist that the entire section is selected.
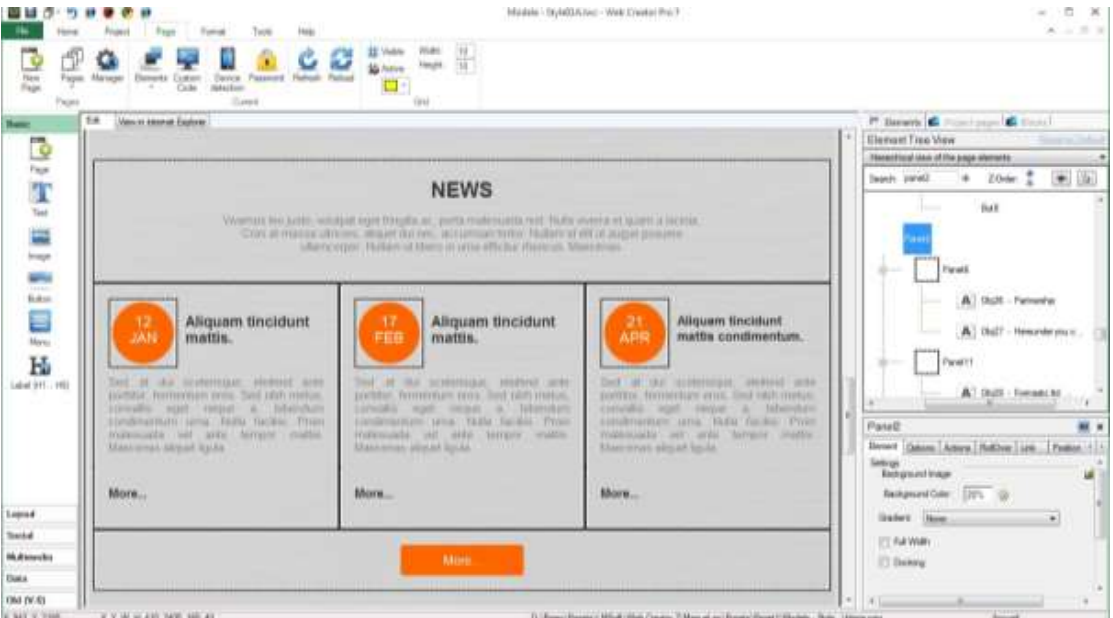
Modify the header of the News section with Partners by clicking on the text to allow editing like we have done previously, then replace at your convenience the presentation text of the section.
Block management
When you want to copy a block, you can simply select the block you want to copy and Copy/Paste it. On the same page, it is still practical, but you may want to have blocks available to any of the project’s page. This is the purpose of customized blocks.
We will now modify the first block and save it in a list of custom blocks of the project, then recall it in place of the blocks 2 and 3.
Modify a block
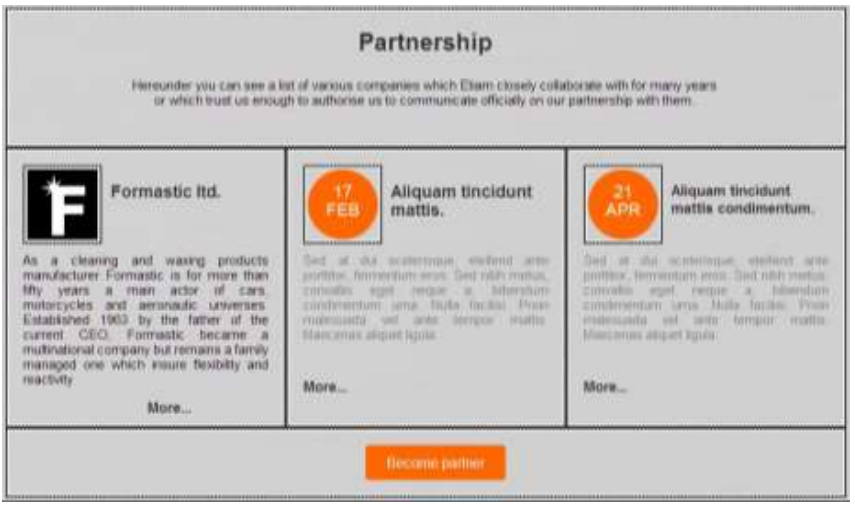
Let's start by modifying the first block. We select and then delete the text field of the date Jan 12. We then select the image of the orange circle and in its properties, we replace it with a company logo Formastic ltd, a fictitious partner. Finally we rewrite the text below with a description of the company, before shifting to the right the More button . We finally get the following result.
Save a custom block
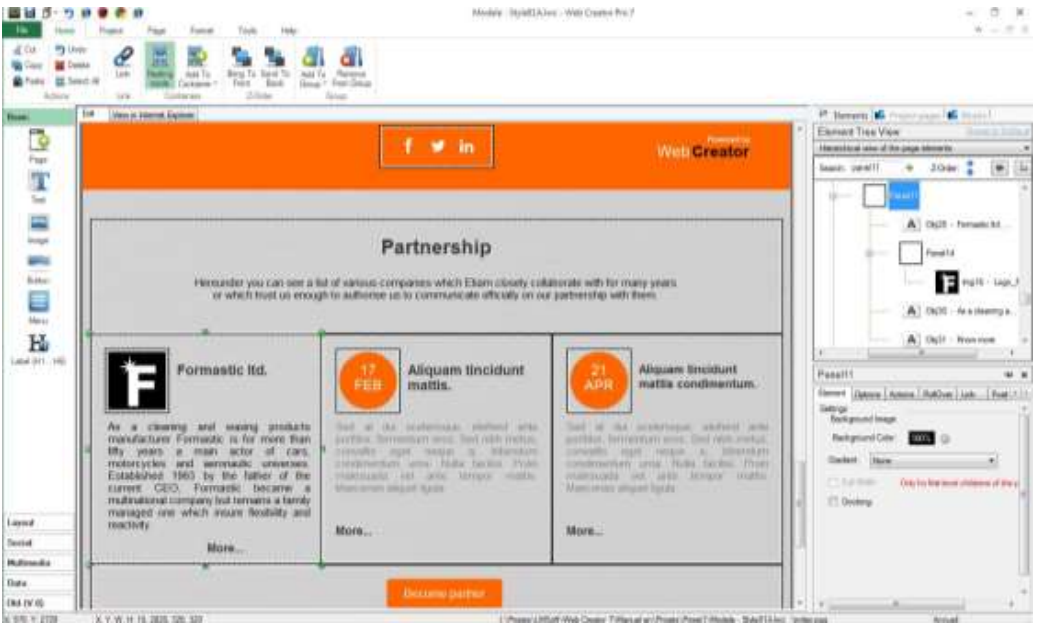
Select the block in the Tree View or by clicking on the left of the More… button. Verify in the Tree View that you have selected the right panel (it contains the new logo).
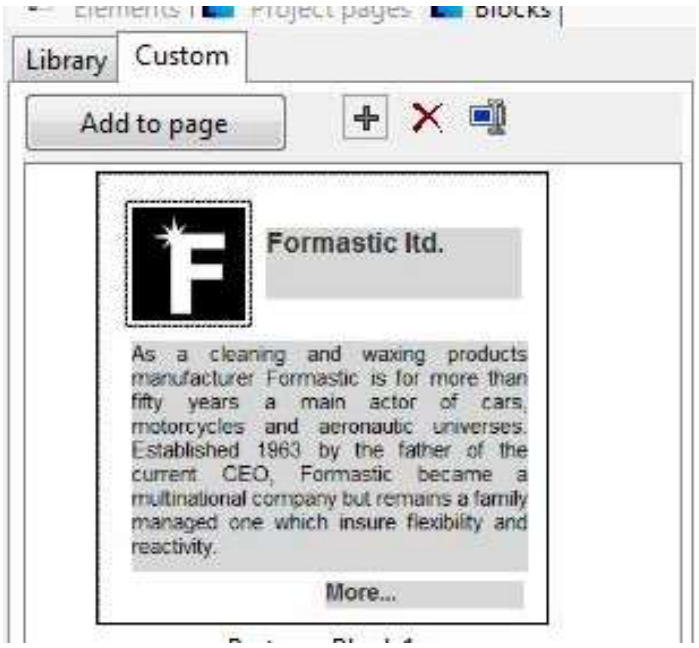
Above the Tree View, click on the Blocks tab, and then on the Custom tab. Click on the icon + and the block is inserted in the list.
Insert a custom block
In the Editing Area , select and delete the second and third block (17 Feb and 21 Apr). Back in the Blocks/Custom tab, select the block that we just saved and click the Add to page button. The block is transferred to the page and in the Partners section that was selected. However, it may be that the blocks were placed in the panel containing the button Become a partner. The Floating positioning mode is enabled on the blocks and they are, therefore, placed naturally at the very end of the Partner Panel. You just have to select each block and move it after the first so that it takes the right place.
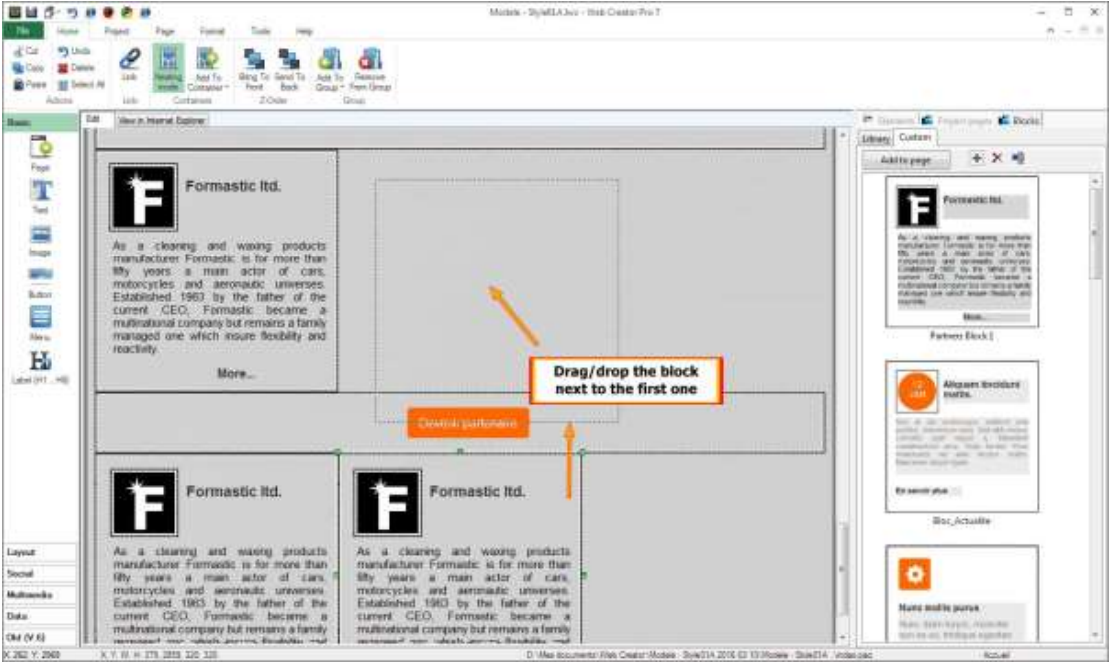
The only remaining thing to do is to modify the elements of the two blocks to complete the creation of the new section.
Block library
In the Blocks tab, the Library sub-tab provides access to different types of predefined blocks integrated to the templates of WebCreator. These blocks can be integrated in any page.
Note that those predefined blocks have different dimensions. They are actually dimensioned with submultiple widths of the template pages, allowing you to place 2 , 3 or 4 blocks side by side, depending on the page width.
The best idea is to start from the provided blocks, change their content and make custom blocks . As they initially have calculated dimensions to fill the containers and adapt to the screens of tablets and mobile , it will be easy to make it adaptable to different widths website thereafter.
Working with the sections and blocks in WebCreator resembles a game of construction blocks.
A Page will typically contain a header section, sections with blocks (News, Products…) and a Footer section. Panels are used to define the sections, Blocks and Elements to fill them.
With automatic height Panels , the height will automatically adjust as you add blocks or Elements.
WebCreator has a complete list of Elements which can be added to pages. The ones that need some clarifications will be presented next.